Item request has been placed!
×
Item request cannot be made.
×

Processing Request
1. Understand the project
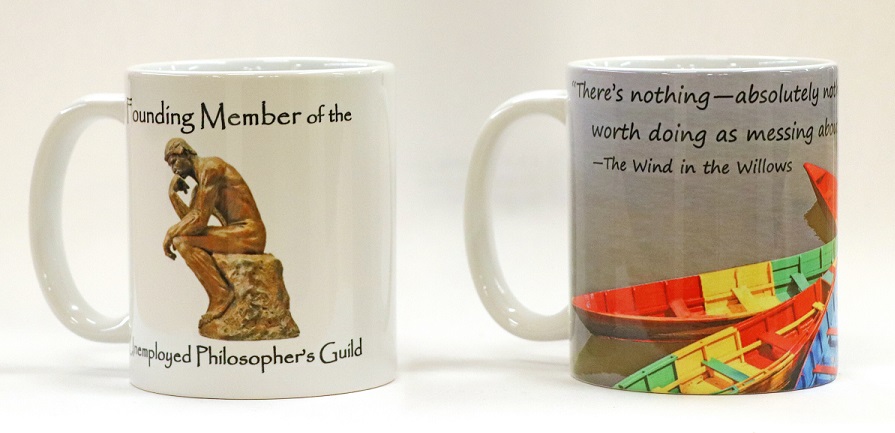
- Sublimation transfers a full-color image from paper to the mug
- The transfer is permanent and non-toxic, the mug is ready to be used and dishwasher-safe
- The image can cover the full area of the mug, or be located anywhere on the mug you want, and include and combination of text and/or images
- Any file type that can be printed can be sublimated onto a mug, so jpegs, pdfs, and Word docs are all fine
|

|
- This video gives an overview of the sublimation process
- Due to COVID-19 restrictions, staff members will be doing the sublimating for you.
|
|
2. Prepare the design
|
Create your design
- The design on the mug will look exactly as it does when printed on a piece of paper.
- The maximum design area is 3.75” x 8.5”
- Using Microsoft Word or other software, position the design elements where you want them
|
|
|
Make sure the final design will print at the proper size
- If convenient, it is helpful to print out the file on a regular printer and measure the print-out to be sure the sizing is good
|
|
|
Save your file
- Save your file in either Word doc, jpeg, or pdf format
|
|
3. Send the design to the Idea Studio
|
Schedule a project setup session
- Go to https://ideastudio.skedda.com/booking
- Use the calendar at the top to select a day
- In the “Book a Project Setup Session” column, select a time
- Click the green “Book” button
- Walk through the prompts to set up an account
- Project setup sessions will be done over Zoom. Details will be email to you
|
|
|
Pick up your finished piece
- Staff members will email you when your piece is completed and ready for pickup
- Those registered for the program will be getting their mugs for free. For all else, there will be a charge of $3.50 per mug, to cover material costs
- Items may be picked up and paid for at the main library check-out desk
- Always wash your mug before its first use. Mugs can be washed by hand or in a dishwasher
|
|
 Processing Request

